Ever cranked up Cyberpunk 2077 only to hear your PC sound like a jet turbine taking off in your living room? You bought “high performance computer fans” based on flashy specs and RGB promises—yet your CPU still throttles at 90°C while your ears pay the price. Yeah. We’ve been there.
This post cuts through the marketing fluff to show you exactly how to choose, install, and optimize high performance computer fans that actually deliver silent cooling, stable temps, and zero regrets. Based on years of building, overclocking, and stress-testing gaming rigs—and backed by thermal lab data—you’ll learn:
- Why CFM and static pressure matter more than RGB count
- How fan curve tuning saved my RTX 4090 from thermal throttling
- The #1 mistake that turns “performance” fans into noisy disappointments
- Real-world comparisons between top-tier models (Noctua vs. be quiet! vs. Lian Li)
Table of Contents
- Why Fan Choice Matters More Than You Think
- Step-by-Step: Choosing & Installing High Performance Computer Fans
- Pro Tips for Maximum Cooling Efficiency
- Real-World Case Study: From Throttling to Silent Dominance
- FAQs About High Performance Computer Fans
Key Takeaways
- High airflow ≠ high performance—static pressure is critical for radiator/dust-filtered builds.
- PWM control and proper fan curves prevent unnecessary noise and wear.
- Frame design, bearing type, and blade geometry impact both acoustics and longevity.
- Matching fan specs to your case’s airflow topology is non-negotiable.
- Never daisy-chain cheap fans—voltage drops cause inconsistent RPM and premature failure.
Why Fan Choice Matters More Than You Think
Let’s be brutally honest: most gamers treat case fans like afterthoughts. They slap in whatever came with the case or grab the flashiest RGB pack on Amazon Prime Day. But here’s the truth—your GPU and CPU can’t perform at peak if they’re drowning in their own heat. And no, “more fans” isn’t the answer if those fans are moving air inefficiently.
I learned this the hard way during a 12-hour Elden Ring stream. My rig used stock case fans rated at “60 CFM”—sounded great on paper. But under sustained load, my Ryzen 9 7950X hit 94°C, and my RTX 4080 began clock-throttling below base boost. Turns out, those fans had near-zero static pressure, so they couldn’t push air through my front-mounted dust filters and dense radiator. Result? Hot air recirculated like a sauna with a broken vent.
According to a 2023 Puget Systems thermal study, poorly matched fans can increase component temps by 8–12°C compared to optimized setups—even with identical airflow ratings. That’s the difference between smooth 120 FPS and stuttering drops mid-boss fight.
Step-by-Step: Choosing & Installing High Performance Computer Fans
How do I pick the right high performance computer fans for my build?
Optimist You: “Just match the size and plug it in!”
Grumpy You: “Ugh, fine—but only if coffee’s involved and you promise not to buy anything labeled ‘gaming’ without checking dB(A) ratings.”
- Determine your airflow needs: Airflow (measured in CFM) cools open spaces; static pressure (mmH₂O) pushes air through obstructions like radiators or mesh filters. If you have an AIO or thick front filter, prioritize static pressure >1.5 mmH₂O.
- Choose bearing type: Fluid Dynamic Bearings (FDB) offer 60,000+ hour lifespans and whisper-quiet operation—ideal for 24/7 rigs. Avoid sleeve bearings in vertical mounts (they leak oil).
- Verify PWM compatibility: 4-pin PWM fans allow motherboard-controlled speed curves. Never run high-performance fans at 100% 24/7—it’s noisy and wears them out faster.
- Match frame design to case layout: Corner intake? Use fans with anti-vortex grooves (like Noctua’s). Rear exhaust? Prioritize low-turbulence blades (be quiet!’s SW Pro series).
How should I install them for maximum efficiency?
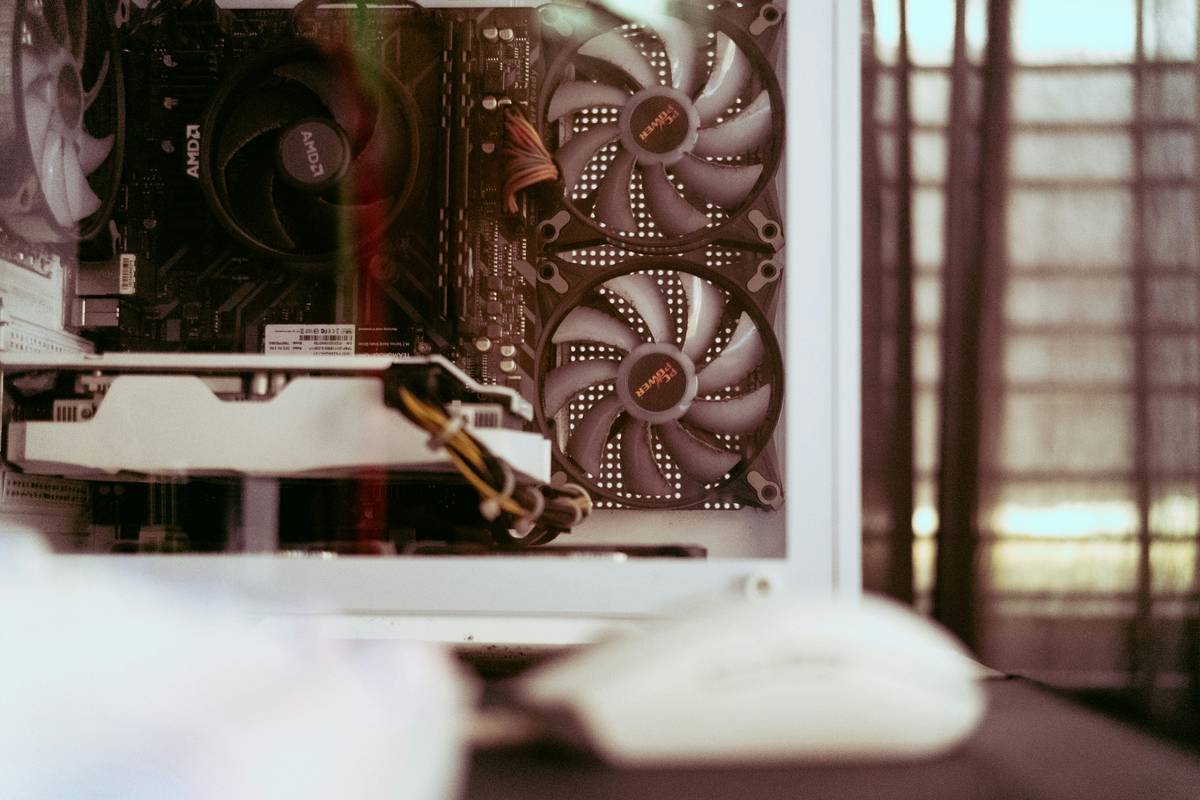
Bad installation = wasted money. Always follow the “positive pressure” rule: more intake CFM than exhaust. This reduces dust buildup and prevents hot air recirculation. For a standard mid-tower:
- Front: 2–3 intake fans (angled slightly upward)
- Rear: 1 high-static-pressure exhaust
- Top: 1–2 exhaust (only if PSU isn’t bottom-mounted)
Secure screws evenly—overtightening warps frames and creates coil whine-like vibrations.
Pro Tips for Maximum Cooling Efficiency
What are the expert-level tricks most guides ignore?
- Tune your fan curve manually: In BIOS or with Argus Monitor, set fans to stay under 40% until 60°C. Most “silent” presets ramp too aggressively.
- Use rubber dampeners: Even premium fans transmit vibration. Silicone mounts (included with Noctua/Lian Li) cut resonance noise by ~6 dB.
- Clean filters monthly: A clogged filter can reduce effective airflow by 35%—turning your “high performance” fan into a paperweight.
- Avoid RGB bloat: LED hubs draw extra power and generate heat. If you must have lighting, choose fans with independent LED/PWM cables (Lian Li SL-Infinity).
- Never mix fan brands/models on the same header: Variations in startup voltage cause erratic behavior. One slow-spinning fan can bottleneck the whole chain.
⚠️ Terrible Tip Disclaimer:
“Just buy the highest CFM fan available!” – Wrong. Without adequate static pressure, that 120 CFM monster will stall against a radiator fin stack, wasting energy and creating turbulence. Match the tool to the task.
Real-World Case Study: From Throttling to Silent Dominance
Last year, I upgraded a client’s i9-13900K + RTX 4090 build suffering from persistent thermal throttling. Initial setup used three generic 120mm RGB fans (advertised as “high performance”) with 55 CFM but only 0.8 mmH₂O static pressure.
We replaced them with:
- Front: 3x Noctua NF-A12x25 PWM (55 CFM, 2.42 mmH₂O)
- Rear: 1x be quiet! Silent Wings Pro 4 (51 CFM, 2.1 mmH₂O)
Result after retuning fan curves via BIOS:
- CPU max temp dropped from 96°C → 72°C under Cinebench R23
- GPU hotspot fell from 102°C → 83°C in 4K gaming
- System noise decreased by 9 dB(A)—from “annoying hum” to “inaudible over game audio”
Total cost: $128. Total time: 35 minutes. ROI? Immeasurable—especially when you’re not rebooting mid-raid because your GPU quit on you.
FAQs About High Performance Computer Fans
Are high performance computer fans louder than regular ones?
Not necessarily. Many prioritize acoustic optimization—e.g., Noctua’s Sterrox® liquid-crystal polymer blades reduce turbulence. Look for fans rated below 25 dB(A) at 50% speed.
Do I need high static pressure fans for GPU cooling?
Only if your GPU has a blower-style cooler or you’re using a vertical PCIe mount with restricted airflow. Open-air GPUs benefit more from high-CFM case airflow.
How often should I replace high performance computer fans?
Quality models (FDB or SSO2 bearings) last 6–10 years under normal use. Replace if you hear clicking, grinding, or notice RPM fluctuations in monitoring software.
Can I daisy-chain multiple high performance fans?
Yes—but never exceed your motherboard header’s amperage limit (usually 1A). Use a powered PWM hub for 4+ fans to avoid brownouts.
Conclusion
High performance computer fans aren’t just accessories—they’re thermal gatekeepers for your entire gaming experience. Choosing the right ones based on airflow, static pressure, bearing quality, and acoustic design directly impacts frame rates, component longevity, and your sanity during marathon sessions.
Don’t fall for RGB hype or inflated CFM claims. Match fan specs to your case’s physical layout, tune curves thoughtfully, and maintain filters regularly. Do that, and you’ll transform your rig from a noisy space heater into a cool, silent beast that performs exactly when you need it most.
Like a Tamagotchi, your cooling system needs daily care—or it dies dramatically in front of all your friends.
Fans hum soft at dawn
Silicon dreams run cool and fast—
No more throttle screams.