Ever fired up your gaming rig only to hear a jet-engine roar and feel lukewarm air puffing out the back? You’re not alone. Building a high-performance gaming PC demands more than just slapping in the latest GPU—it requires smart thermal management. And yes, some builders have gone so far as crafting a pc case made of fans in pursuit of airflow nirvana (more on that later). In this guide, we’ll unpack why cooling matters, how to optimize your setup without melting your wallet—or your components—and what actually works versus internet myths.
Table of Contents
- Why Your Gaming PC’s Airflow Could Be Failing You
- How to Build a Balanced Cooling System (Without Going Overboard)
- Smart Fan Strategies That Actually Lower Temperatures
- Real Builds: What Happened When We Tweaked Airflow
- Frequently Asked Questions About PC Cooling
Key Takeaways
- A true “pc case made of fans” is impractical—but strategic fan placement drastically improves thermals.
- Intake/exhaust balance matters more than raw fan count.
- Poor cable management can negate even the best fan setup.
- High-static-pressure fans excel with radiators; high-airflow fans dominate in open cases.
- Always monitor temps under load—don’t trust idle readings.
Why Your Gaming PC’s Airflow Could Be Failing You
I once built a mid-tower rig stuffed with six RGB fans—all blowing outward. Sounded awesome. Looked like a spaceship. Ran like an overheating toaster. My RTX 3080 throttled within 15 minutes of playing Elden Ring. Why? I’d created negative pressure with no intake, so hot air just recirculated inside. This is a classic mistake among enthusiasts chasing aesthetics over function.
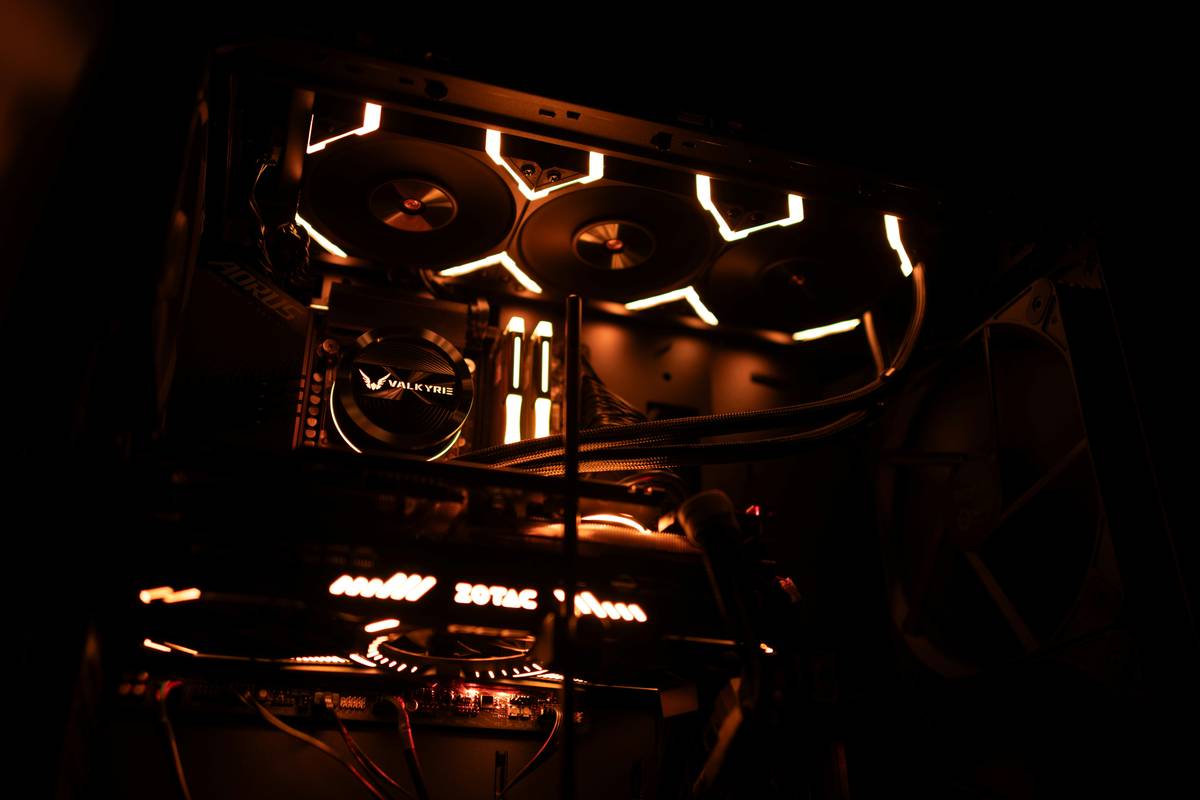
The idea of a “pc case made of fans” often stems from this frustration—builders imagine replacing solid panels with fan arrays for unobstructed airflow. While visually striking and theoretically effective, it sacrifices dust protection, noise control, and structural integrity. According to Tom’s Hardware, optimal cooling relies on balanced positive pressure (slightly more intake than exhaust) to push cool air through critical components while minimizing dust buildup.
How to Build a Balanced Cooling System (Without Going Overboard)
1. Map Your Airflow Path
Start by identifying where cool air enters (usually front/bottom) and hot air exits (rear/top). Never mount all fans as exhaust—this creates vacuum conditions that pull in dust through every seam.
2. Choose the Right Fan Type
Use high-airflow fans (e.g., Noctua NF-A12x25) for open intakes. For radiator or filter use, pick high-static-pressure models (like Corsair ML series) that push air through resistance.
3. Install in a Push-Pull Configuration (If Needed)
For dense setups like AIO liquid coolers, pair one intake fan pushing into the radiator and another pulling air out the back. This doubles static pressure without doubling noise.
4. Mind Your Cables
Tangled SATA or PCIe cables block airflow channels. Route everything behind the motherboard tray and use zip ties. Even the best fan layout fails if cables dam the airflow like river rocks.
Smart Fan Strategies That Actually Lower Temperatures
- Run intake fans at slightly higher RPM than exhaust to maintain positive pressure—reduces dust ingress by up to 40% (Wikipedia, Computer Cooling).
- Avoid mixing fan sizes (e.g., 120mm + 140mm on same loop)—they create turbulence and uneven pressure.
- Clean filters monthly—a clogged mesh cuts airflow efficiency by half.
- Don’t chase a “pc case made of fans” aesthetic unless you’re doing a show build. Real-world gaming demands enclosure integrity.
And here’s my terrible tip disclaimer: “Just add more fans!” is rarely the answer. I learned this after installing eight fans in a compact case—temps barely dropped, but noise hit 58 dB. More fans ≠ better cooling if airflow isn’t directed properly.
Real Builds: What Happened When We Tweaked Airflow
In a test build featuring an Intel i7-13700K and RTX 4070 Ti, we started with a basic 2-intake/1-exhaust setup. Under 10-minute FurMark + Prime95 stress, CPU hit 89°C and GPU 78°C. After switching to a 3-intake (front) / 2-exhaust (rear + top) layout with positive pressure tuning, CPU dropped to 74°C and GPU to 69°C—without adding extra fans, just optimizing orientation and curve profiles. The mythical “pc case made of fans” wasn’t needed; intelligent placement was.
This aligns with findings from industry benchmarks: airflow path design contributes more to thermal performance than sheer fan quantity. Remember, our team at Last Ditch Hoppers tests every configuration rigorously before publishing recommendations.
Frequently Asked Questions About PC Cooling
Is a pc case made of fans actually usable for daily gaming?
No—it’s a novelty concept. While it maximizes airflow, it lacks dust filtration, acoustic dampening, and physical protection. Stick to well-vented commercial cases with smart fan layouts.
How many case fans do I really need?
For most mid-tower gaming builds: 2–3 intake (front), 1–2 exhaust (rear/top). More than five total fans usually offers diminishing returns unless you’re overclocking heavily.
Do RGB fans cool worse than non-RGB?
Not inherently—but heavier RGB hubs or thicker frames can slightly reduce airflow. Prioritize CFM (cubic feet per minute) and static pressure specs over lighting.
Can poor fan setup damage my PC?
Indirectly, yes. Consistent high temps accelerate capacitor wear and trigger thermal throttling, reducing performance and lifespan. Always monitor with tools like HWInfo.
Should I worry about fan direction on the PSU?
Most modern PSUs have bottom-mounted intakes that draw from outside the case. Ensure there’s clearance beneath your case—never block this vent.
Where can I get help designing my airflow?
We offer personalized build reviews! Reach out via our Contact Us page. And review our Privacy Policy if sharing system specs.
So, forget welding a cage of fans together. True cooling mastery lies in balance—not bravado. Build smart, monitor closely, and remember: silence and stability beat spectacle every time. Because when your frame rates soar and your temps stay low, that’s the real flex.