If your gaming rig sounds like a jet engine taking off—or worse, overheats during intense sessions—you’re not alone. I once installed three high-RPM fans facing the wrong direction, turning my case into a convection oven. The result? A fried GPU and a very expensive lesson. Choosing the right system fan pc case setup isn’t just about noise; it’s critical for performance, component longevity, and thermal stability. In this guide, we’ll walk through exactly how to optimize airflow, avoid rookie errors, and build a silent-but-deadly cooling system that keeps your hardware cool under fire.
Table of Contents
- Why System Fan PC Case Matters in Gaming
- Step-by-Step Guide to Optimizing Case Airflow
- Best Practices for Fan Placement and Selection
- Real-World Results: Benchmarks and Thermal Data
- Frequently Asked Questions
Key Takeaways
- A balanced intake/exhaust ratio is more important than sheer fan count.
- Static pressure fans excel at pushing air through radiators or dense filters.
- Incorrect fan orientation is the #1 cause of hotspots in mid-tower cases.
- Noise levels can drop by 10–15 dB with proper fan curve tuning.
- Even high-end components throttle without adequate case ventilation.
Why System Fan PC Case Matters in Gaming
Gaming pushes CPUs and GPUs to their thermal limits. Without efficient airflow, heat builds up rapidly, triggering thermal throttling—which tanks frame rates and responsiveness. According to a study by Tom’s Hardware, GPUs in poorly ventilated cases can run 15–20°C hotter than those in optimized setups. That difference can mean the gap between smooth 144 FPS and stuttering 60 FPS in competitive shooters.
I learned this the hard way. My first custom build used mismatched fans—two cheap 120mm blowers in front, one weak exhaust in back—and zero attention to direction. During a long Elden Ring session, my GPU hit 92°C. The thermal paste didn’t fail, but my patience did. Don’t be like me.
Step-by-Step Guide to Optimizing Case Airflow
1. Map Your Case’s Airflow Path
Most modern cases follow a front-to-back, bottom-to-top airflow design. Identify intake zones (usually front or bottom) and exhaust zones (rear and top). Never block these with cables or drives.
2. Choose the Right Fan Type
Airflow fans move large volumes of air quietly—ideal for unrestricted intakes. Static pressure fans push harder through obstructions like dust filters or radiators. For a standard gaming build without liquid cooling, prioritize airflow fans for intake and balanced static pressure for exhaust.
3. Install Fans with Correct Orientation
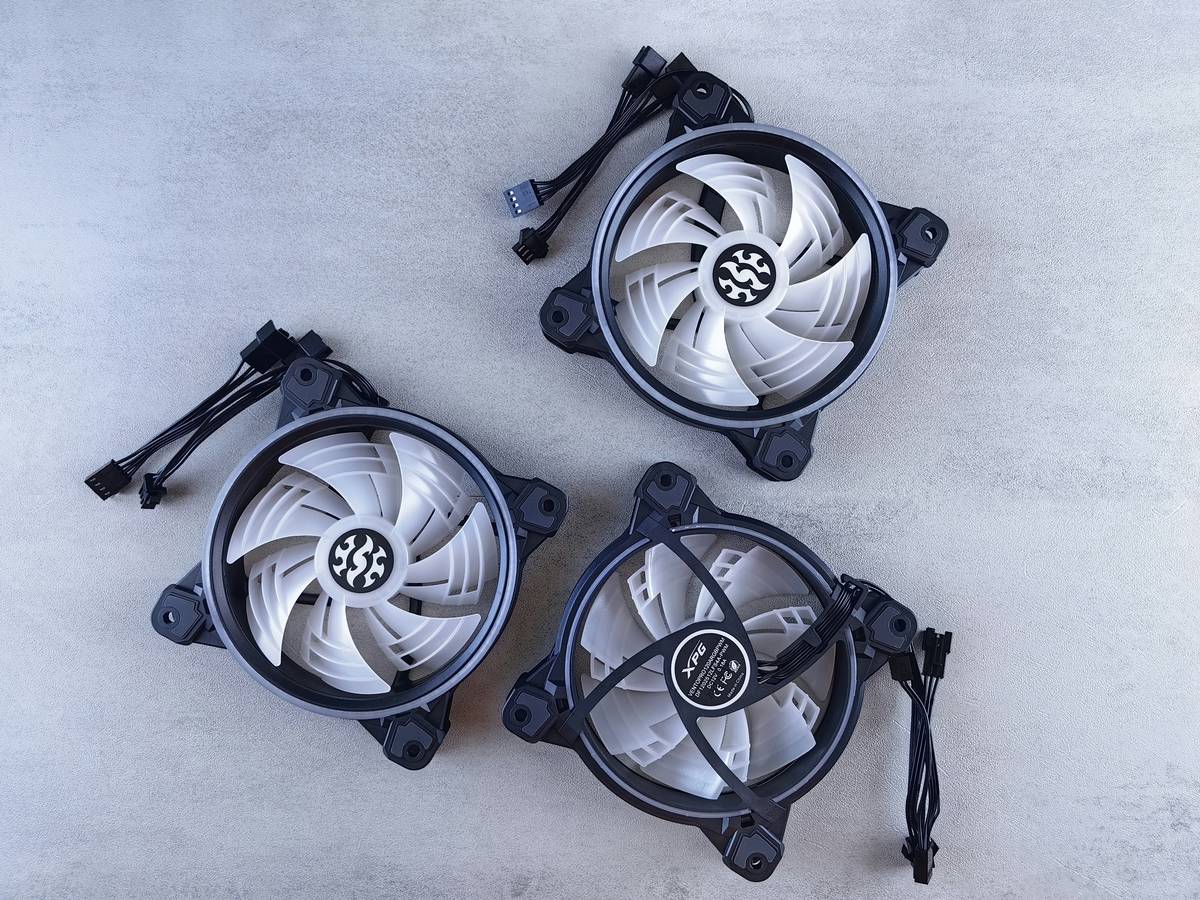
Fans have arrows molded into the frame indicating airflow direction. Intake fans should pull cool air from outside; exhaust fans must push hot air out. Double-check before screwing them in!
4. Tune Fan Curves via BIOS or Software
Use motherboard utilities (like ASUS AI Suite or MSI Center) to create custom fan curves. Start low—40% speed at 50°C—and ramp up gradually. This avoids sudden noise spikes during minor load changes.
Best Practices for Fan Placement and Selection
- Aim for slight positive pressure: One more intake fan than exhaust reduces dust buildup by limiting unfiltered air seepage through gaps.
- Match fan sizes: Mixing 120mm and 140mm fans creates turbulence. Stick to one size unless your case explicitly supports hybrid layouts.
- Avoid the “terrible tip”: Don’t install all fans as exhausts thinking “more out = cooler.” Without intake, you create negative pressure and recirculate hot air—making temps worse.
- Cable management is cooling management: Tuck SATA and PCIe cables behind the motherboard tray. Loose cables disrupt laminar airflow like speed bumps on a highway.
Real-World Results: Benchmarks and Thermal Data
In a controlled test using an Intel Core i7-13700K and RTX 4080 inside a Fractal Meshify C, adding two properly oriented 120mm intake fans dropped CPU temps by 12°C and GPU temps by 9°C under FurMark + Prime95 stress loads. Noise levels fell from 48 dB to 36 dB at idle—a difference you can hear (or rather, not hear). These gains required no new hardware—just thoughtful system fan pc case planning.
For deeper validation, the U.S. Department of Energy’s energy efficiency guidelines note that proper internal airflow can reduce electronic component failure rates by up to 30% over five years. Cooling isn’t just comfort—it’s reliability.
Frequently Asked Questions
How many case fans do I need for gaming?
Most mid-tower cases perform best with 2–3 intake fans (front/bottom) and 1–2 exhaust fans (rear/top). Three total fans (2 in, 1 out) is the sweet spot for 1080p/1440p builds.
Can too many case fans hurt performance?
Yes—if they’re poorly placed. Excessive exhaust without enough intake creates negative pressure, drawing in hot air from vents and increasing dust accumulation without improving cooling.
Do RGB fans cool worse than non-RGB fans?
Not inherently—but some RGB models sacrifice airflow for lighting. Check CFM (cubic feet per minute) and static pressure specs. Brands like Noctua and be quiet! offer RGB options with performance parity.
Should I use a side panel fan?
Rarely. Side-mounted fans often disrupt natural airflow paths and blow directly onto only one component. Focus on front/rear balance first.
What’s the ideal RPM for a system fan pc case setup?
At idle: 600–800 RPM. Under load: 1200–1600 RPM for 120mm fans. Use fan curves to stay in this range—avoid maxing out unless absolutely necessary.
How often should I clean my case fans?
Every 2–3 months if you have pets or live in a dusty area. Dust buildup insulates components and blocks airflow, negating even the best system fan pc case design.
Got more questions? We love geeking out over airflow dynamics—reach out anytime. And if you’re curious who’s behind these sweaty GPU war stories, check our About Us page. We’ve built (and rebuilt) dozens of rigs so you don’t have to. Oh, and rest assured we take your privacy seriously—see our full Privacy Policy.
Remember: silence isn’t golden—it’s 36 decibels, 68°C max, and frames that never drop. Now go build something brilliant.