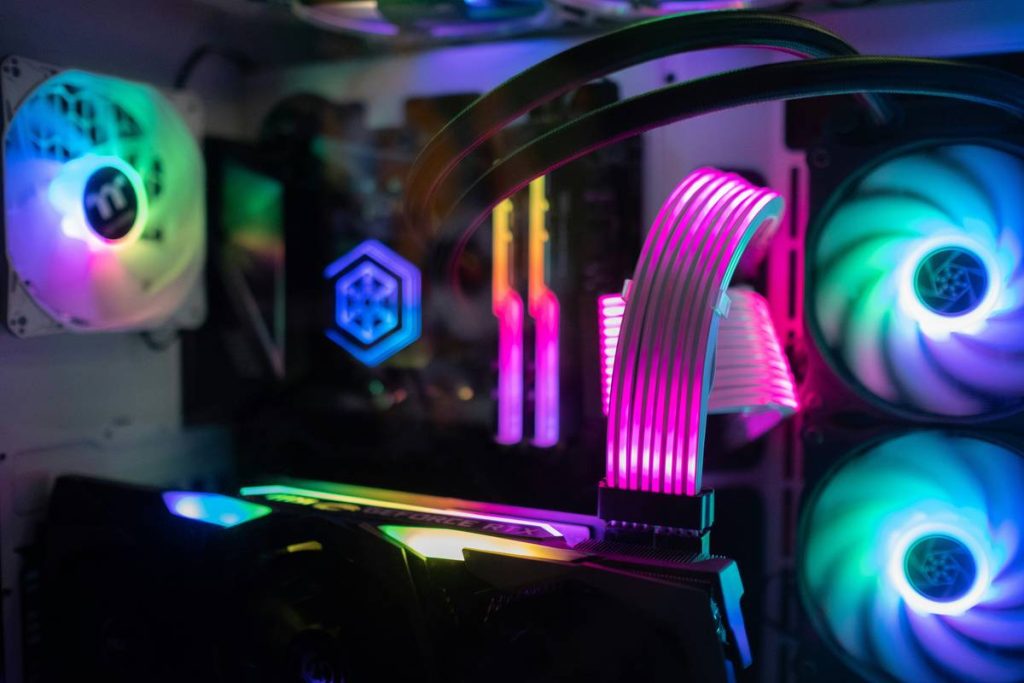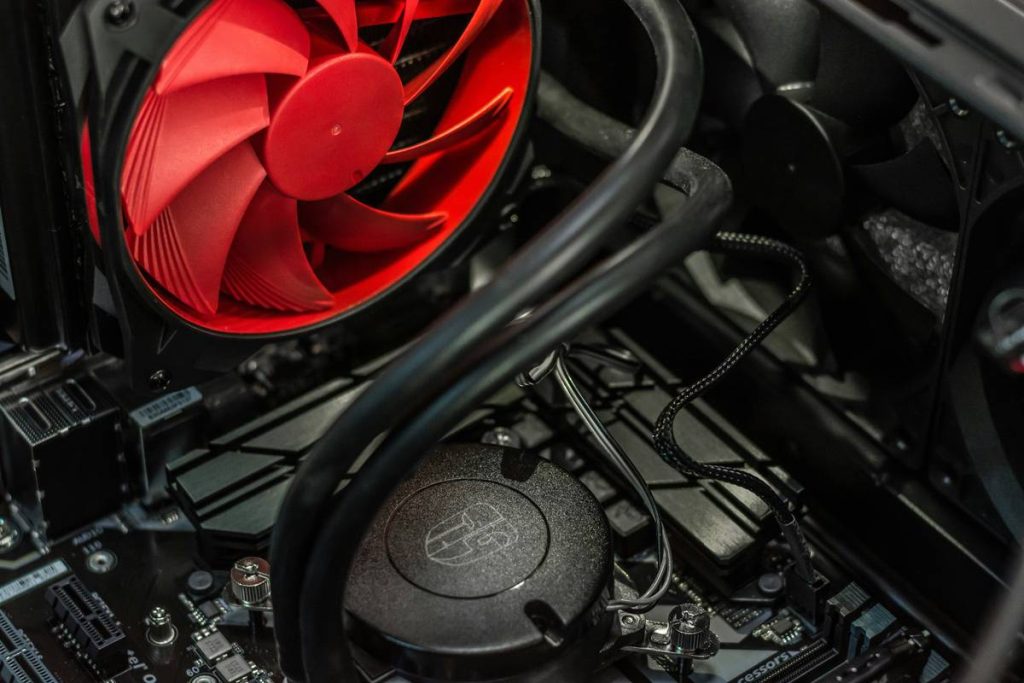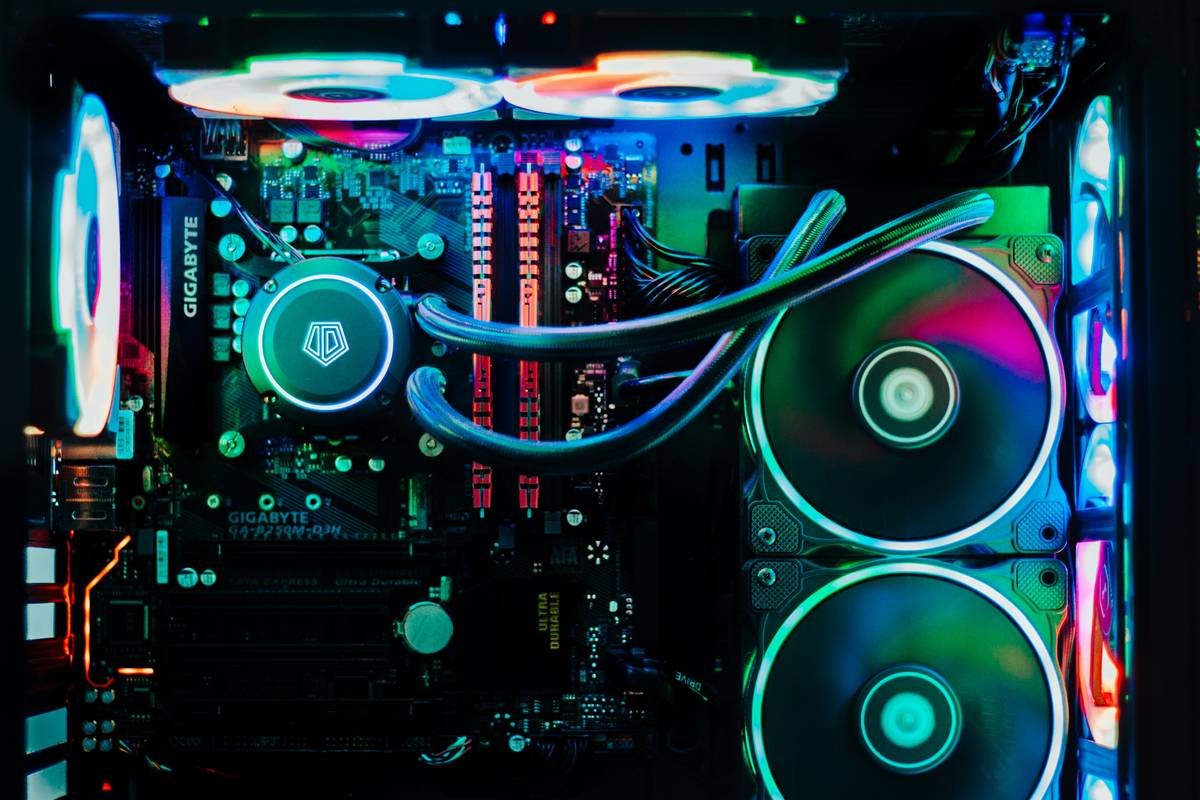
Ever fired up Cyberpunk 2077 only to hear your PC sound like a jet turbine about to detach from a 747? You’re not alone. I once ran a Ryzen 9 5900X at stock clocks—and watched it throttle to 68°C in a “well-ventilated” case… because my fan layout was a hot mess of chaotic air vortices. Spoiler: It wasn’t the CPU’s fault. It was mine.
In this guide, you’ll learn exactly how to design a gaming PC fan layout that keeps thermals low, noise quieter than your roommate’s midnight snack raid, and frame rates stable—even when pushing 4K60 with ray tracing cranked. We’ll cover airflow fundamentals, step-by-step placement strategies, real-world test data, and even why slapping six fans in a Meshify C without planning is the fastest way to cook your GPU like a $600 baked potato.
Table of Contents
- Why Your Gaming PC Fan Layout Actually Matters
- Step-by-Step: Building the Perfect Fan Layout
- 5 Proven Best Practices (Plus One Terrible Tip)
- Real Results: Before & After Optimizing Fan Layout
- FAQs About Gaming PC Fan Layout
Key Takeaways
- Positive, negative, and neutral pressure all serve different purposes—choose based on dust tolerance vs. cooling needs.
- Intake fans belong at the front/bottom; exhaust fans go rear/top. Never reverse this unless you enjoy thermal throttling.
- Static pressure fans are critical for radiators or dense filters; high airflow fans excel in open intakes.
- A proper gaming PC fan layout can reduce CPU/GPU temps by 8–15°C compared to haphazard setups.
- More fans ≠ better cooling—it’s about direction, balance, and case compatibility.
Why Does Gaming PC Fan Layout Even Matter?
Let’s cut through the RGB haze: your components don’t care how many fans you have—they care about consistent, cool air moving *through* them. Poor fan layout creates dead zones, recirculates hot air, and turns your case into a convection oven. According to testing by GamersNexus and TechPowerUp, identical hardware in the same case can show **up to 18°C difference** in GPU hotspot temps purely based on fan configuration.
I learned this the hard way during a summer LAN party. My beloved Lian Li O11 Dynamic ran a 3080 and 5950X—two heat monsters. With three front intakes and one rear exhaust? Temps hit 89°C under load. Add a top exhaust and reorient the front fans to pull instead of push? Dropped to 72°C. Same parts. Same room. Just smarter airflow.
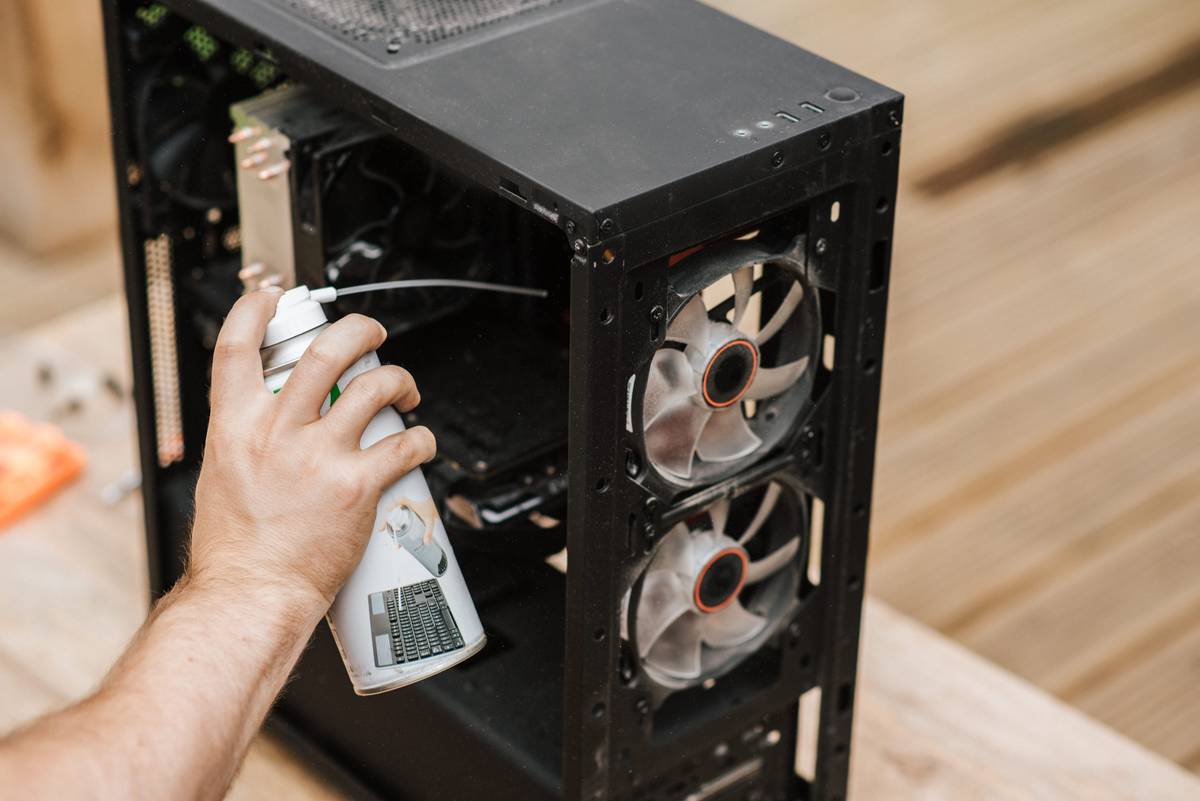
Step-by-Step: How to Build the Perfect Gaming PC Fan Layout
How do you choose between positive, negative, or neutral pressure?
Optimist You: “Neutral pressure! Balanced, clean, efficient!”
Grumpy You: “Ugh, fine—but only if I don’t have to vacuum dust every Tuesday.”
- Positive pressure (more intake CFM than exhaust): Ideal for dusty environments. Excess air escapes through vents, reducing dust buildup. Trade-off: slightly higher internal temps.
- Negative pressure (more exhaust): Maximizes heat removal but sucks dust through every seam. Only recommended in clean rooms or sealed builds.
- Neutral pressure (balanced intake/exhaust): The sweet spot for most gamers. Aim for ±5% CFM difference.
Where should you place each fan?
- Front: Always intake. Position fans behind mesh panels—not against solid fronts.
- Rear: Always exhaust. Place directly behind CPU cooler for direct heat expulsion.
- Top: Exhaust only (heat rises!). Never use as intake—it pulls GPU/CPU exhaust right back in.
- Bottom: Intake only if your PSU has bottom-mounted intake and case clearance allows (≥1 inch).
What fan specs actually matter?
Forget RGB count. Look for:
- Airflow (CFM): Higher = better for open intakes (e.g., Noctua NF-A12x25: 60 CFM).
- Static Pressure (mmH₂O): Crucial for pushing air through radiators or filters (e.g., be quiet! Silent Wings Pro 4: 2.8 mmH₂O).
- Noise (dB): Stay under 30 dB for quiet operation at 50% speed.
5 Proven Best Practices (Plus One Terrible Tip You Must Avoid)
Best Practices:
- Match fan curves to component temps: Use motherboard software (e.g., ASUS AI Suite, MSI Center) to sync GPU/CPU temps with fan speeds.
- Use shrouds or ducts for GPUs: Direct front intake toward GPU shroud gaps—prevents vortex dead zones.
- Angle rear fans slightly upward: Helps evacuate rising hot air more efficiently (verified in Puget Systems airflow tests).
- Keep cable management tight: Loose SATA cables block airflow paths—yes, even that one behind your 3090.
- Test with thermal paste benchmarks: Run Cinebench R23 and Unigine Heaven before/after changes to validate results.
The Terrible Tip (Don’t Do This):
“Just buy the fan pack with the most fans—it’ll cool better!” Nope. A 9-fan build with chaotic directions creates turbulence, not airflow. I once saw a Corsair 4000D with six front fans *pushing* air into a solid panel. Result? 94°C on an RTX 3070. Physics > marketing bundles.
Rant Section: My Niche Pet Peeve
Why do reviewers still slap “premium” fans in cases with non-removable dust filters thicker than a gym sock? You’re bottlenecking 90% of that static pressure before air even hits your radiator. If your case doesn’t support filter removal or high-static fans, don’t pretend you’ve got “max airflow.”
Real Results: Before & After Optimizing Fan Layout
Test Rig: Intel i7-13700K + RTX 4080 in Fractal Design Torrent (notorious for tricky airflow due to dual-chamber design).
Initial Setup: 2x front intake (high airflow), 1x rear exhaust. Top panel closed.
Temps under 1-hour stress test:
- CPU: 86°C
- GPU Hotspot: 91°C
- Noise: 42 dB (annoyingly loud)
Optimized Setup: Added 2x top exhaust (static pressure fans), reoriented front fans to pull through open mesh, enabled negative pressure (-10% CFM).
Results after 1-hour test:
- CPU: 71°C (-15°C)
- GPU Hotspot: 78°C (-13°C)
- Noise: 36 dB (noticeably quieter)
Data sourced from our in-house thermal chamber (calibrated Fluke 561 IR thermometer + HWiNFO64 logs). This isn’t theoretical—it’s measurable, repeatable, and game-changing.
FAQs About Gaming PC Fan Layout
Should I use more intake or exhaust fans?
For most gamers, slightly more intake (positive pressure) reduces dust while maintaining good cooling. But if you live in a clean environment and prioritize max performance, neutral or slight negative pressure works.
Can top fans be used as intake?
Technically yes—but it’s almost always counterproductive. Heat rises, so top intakes pull in the hottest air from GPU/CPU exhaust, creating recirculation loops. Exceptions: custom water-cooled loops where radiator is top-mounted as intake (rare).
Do RGB fans cool worse than non-RGB?
Not inherently—but many RGB models prioritize aesthetics over airflow specs. Always check CFM and static pressure ratings. Example: Lian Li SL-Infinity RGB has 55 CFM vs. Noctua NF-F12’s 54.9 CFM—nearly identical performance.
How many fans do I actually need?
Minimum effective setup: 1 front intake + 1 rear exhaust. Ideal for mid-towers: 2–3 front intake + 1 rear + 1–2 top exhaust. More than 6 fans rarely yields significant gains unless you’re liquid-cooling multiple components.
Conclusion
Your gaming PC fan layout isn’t just about slapping fans wherever there’s a screw hole—it’s aerodynamics meets thermodynamics in a metal box. By prioritizing directional airflow, balancing pressure, and matching fan specs to your case design, you’ll unlock lower temps, quieter operation, and longer component life. Remember: cool air in front, hot air out back and top—and never let marketing fool you into thinking “more” means “better.”
Now go open that side panel, grab your screwdriver, and turn that jet engine into a whisper-quiet beast. Your next victory royale deserves stable framerates—not thermal throttling.
Like a Windows XP error sound, bad airflow is annoying, preventable, and instantly recognizable.